
Is it almost planting season again? What are you thinking about growing in your veggie garden this year? There are so many options that it’s hard to settle on a few!
Veggies have different lifecycles, and some grow faster than others. So, if you’re planning your garden, you need to understand when it’s optimal to start planting for that specific vegetable.
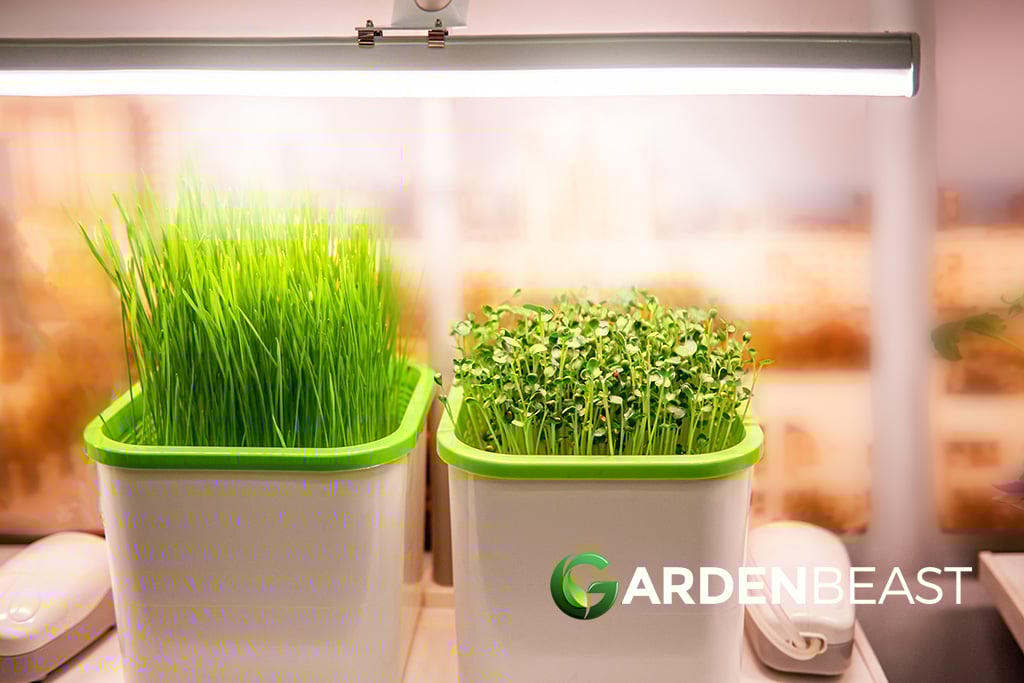
For some varieties, you might have to start them early indoors to make the most out of the growing season, especially if you live in the Northern states.
If you soak seeds before planting, it offers a way to fast-track germination, getting roots in the ground weeks earlier than expected with traditional growing methods.
Soaking the seed softens the hard shell, helping the plant push out of its shell and start growing. Different seeds require different growing conditions, but almost all of them respond to the presoak method.
This complete guide to soaking seeds gives you everything you need to know about the benefits of the technique.

Is It Necessary to Soak My Seeds?
Do you need to soak your seeds? Is there any benefit to the practice? With modern agriculture, we can grow any vegetable in our backyard, regardless of its geographical origin.
We can manipulate growing conditions and requirements to suit our needs, allowing us to produce amazing effects and full harvest with any vegetable in any climate conditions.
Typically, seeds germinate through the natural process of the rain landing on the ground, interacting with seeds dropped by plants the previous year.
However, with modern agriculture, we can imitate this process ourselves, fooling the seeds into germination by providing them with the necessary elements for survival.
So, if you’re living in the great white north, you can use greenhouses and artificial lighting to grow habanero peppers year-round, giving the plants all the light, air, soil, and water they need as if they were growing close to the equator.
Using artificial seeding and germination techniques, we also get more viable plants out of each season. Typically, when a plant drops seeds, it leaves hundreds of seeds on the ground.
After the plant dies and the winter ends, those seeds respond to the first rainfalls. However, only a mall fraction of those seeds ever germinate. The rest never sprout, or they may end up growing the following year.
With growing methods like presoaking seeds, you can increase this germination rate by a large margin, giving you more plants with fewer seeds.
Presoaking your seeds gives you a higher germination rate. By using natural sprouting methods, seeds might require several rainfalls to soften the outer shell on the seed and activate the cotyledons to start growing from the seed embryo.

The Natural Seed Life Cycle
The seed is a basic structure. The seed embryo lies inside the hard shell. When it receives moisture, it begins to grow, producing cotyledons.
The seed’s hard outer shell provides the embryo with protection while it waits for optimal growing conditions to come about during the season.
The seed shell also prevents the seed from sprouting when conditions are not ideal for growth, such as in the wintertime.
By presoaking your seeds, you’re manipulating the embryo into optimal growing conditions, telling the seed to sprout and start the plant’s lifecycle.
Let’s look at peas or beans, for example. Peas are an early-season plant, and if you start them off pre-season, you can increase yields and receive multiple harvests.
However, in the wild, the peapod produces spectacular flower displays and a sweet scent attracting pollinators to the plant.
After flowering, the pea pods start to develop a furry cover, and they remain on the plant until it dies at the end of the season, drying out the pods.
Each pod may contain 15-peas or more and thousands of peas per plant. At the end of the season, the pods open and sprinkle the remaining peas on the ground. As a result, the peas remain on the ground, and they stay dormant until optimal growing conditions present the following year.
Some peas might end up as food for animals, moving through the digestive tract where the animal disposes of them as waste.
When the following seasonal rains arrive, these peas absorb water and nutrients from the manure, sprouting and growing into mature plants to repeat the lifecycle.

What’s Happening When You Soak Seeds?
When gardeners collect seeds, such as the dried pea pods, they store them in optimal conditions where the natural environment doesn’t wear off the seed pod coating.
As a result, they can last for years in storage, remaining dormant until the gardener decides to sprout them for their veggie patch or flowerbed.
When it’s time to sow a flowerbed, the gardener scarifies the exterior of the seed pos slightly and then soaks the seed for 24-hours to allow the water to penetrate the hard shell.
This process mimics the wearing of the seed shell through natural processes but using a knife. As a result, the gardener can control the plant lifecycle, allowing them to start seeds at any time of year.

What Type Of Seeds Need A Presoak?
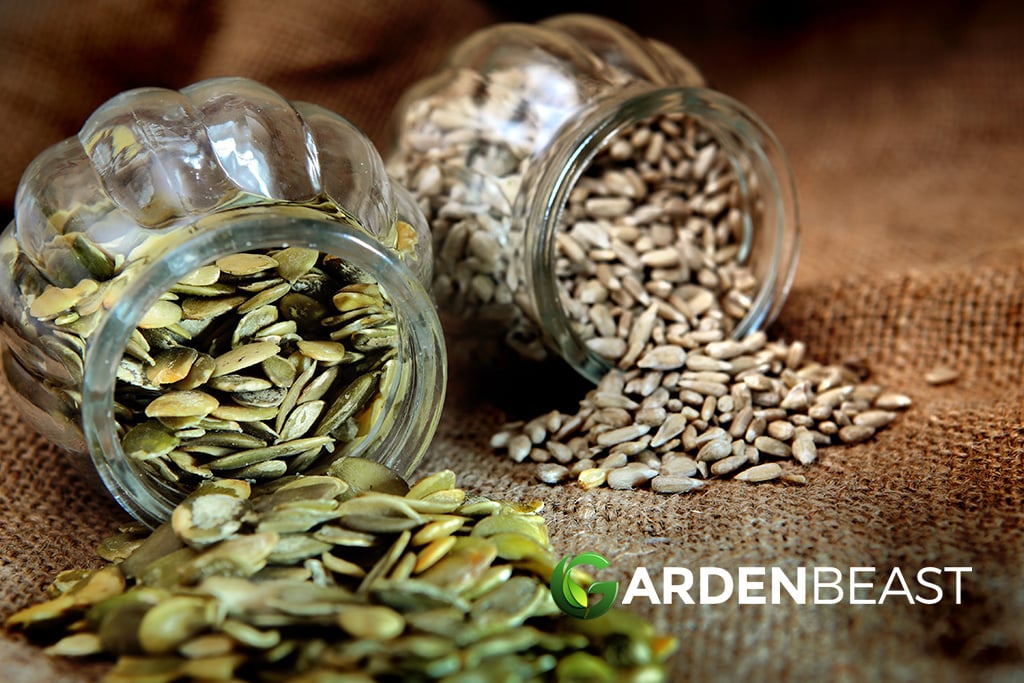
Unfortunately, not all seeds are suitable for presoaking. Small seeds are harder for the gardener to control during the soaking process. They may clump together, making it challenging to separate them during germination. Larger seeds are ideal for the presoaking process and the better choice for gardeners.
Wrinkled seeds, such as peas, are also great examples of seeds that do well with presoaking. After presoaking the pea, it plumps up, removing the wrinkles in the seed casing. This effect shows that the seed is hydrated and ready for sowing directly into the veggie patch.
Some of the best seeds for presoaking include the following varieties.
The soaking process is suitable for all medium to large seeds, and it’s especially beneficial for seeds with a thick coating, such as beans.
What Types of Pre Soaked Seeds Can Be Direct Sown?
The soaking process involves the gardener leaving the seeds in water or between hydrated tissues overnight. After soaking, the seeds are ready for direct sowing into your vegetable garden.
Starting seeds in the ground is the better choice for fast-tracking seedling growth. Sure, you could leave the seeds to sprunt and remove their shells, transplanting the seedlings after they produce the first few sets of leaves.
However, the transplanting process stresses the seedling. As a result, it stunts the early growth of the seedlings, putting you behind on your growing timeline. The only time you need to let the seeds sprout before planting is if you’re starting the seeds indoors before that last frosts fall.
Directly sowing the seeds gives the roots a better chance to reach the proper depth, allowing for the full maturity of the plant and the best yields in the vegetable garden.
Are There Seeds You Shouldn’t Soak?
We recommend avoiding the soaking method with flower seeds. Unless you’re an experienced gardener, trying to navigate this process is frustrating with flower seeds. Typically, flower seeds are small, around the size of a pinhead.
It’s challenging to identify if the seeds received enough water, and you’ll have to guess that they have enough of a soak before planting them. Smaller seeds also have a higher chance of drowning during the soaking process.
Small seeds like chia, basil, lettuce, tomatoes, black-eyed Susan’s, lisianthus, and foxglove, are examples of seeds that are challenging to soak and see results.
It’s a better idea to sow these seeds directly into a seedling tray and keep them moist with water spray until they sprout.
How Do I Soak Seeds for the Best Results?
Soaking seeds is easy. Find yourself a small glass jar and fill it with distilled water. We recommend using distilled water because it has all heavy metals and minerals removed from the water. Ensure the water isn’t cold. Using cold water emulates the freezing rain of the winter, and your seeds will stay in hibernation.
The water should be tepid but not warm. If you use warm water, the seeds end up cooking, not soaking, and they won’t germinate. Place the seeds in the water, and let them soak for 12 to 24-hours, depending on the size.
If you can’t get distilled water, using filtered water is okay, but avoid using standard tap water if possible. After the soaking period ends, you’ll need to plant out the seeds right away. Prepare your vegetable garden or containers to receive the seeds.
Don’t let the seed dry out, or you might end up killing the embryo, and the seed won’t germinate – even if you re-soak it. You’ll have to throw the seeds away and start the process again from scratch.
After planting out your seeds, make sure you keep the soil moist for at least the first two to three weeks. Don’t overwater the seedlings or seeds as it delays growth and possibly drowns the seedlings, ruining your gardening plans for the season.