
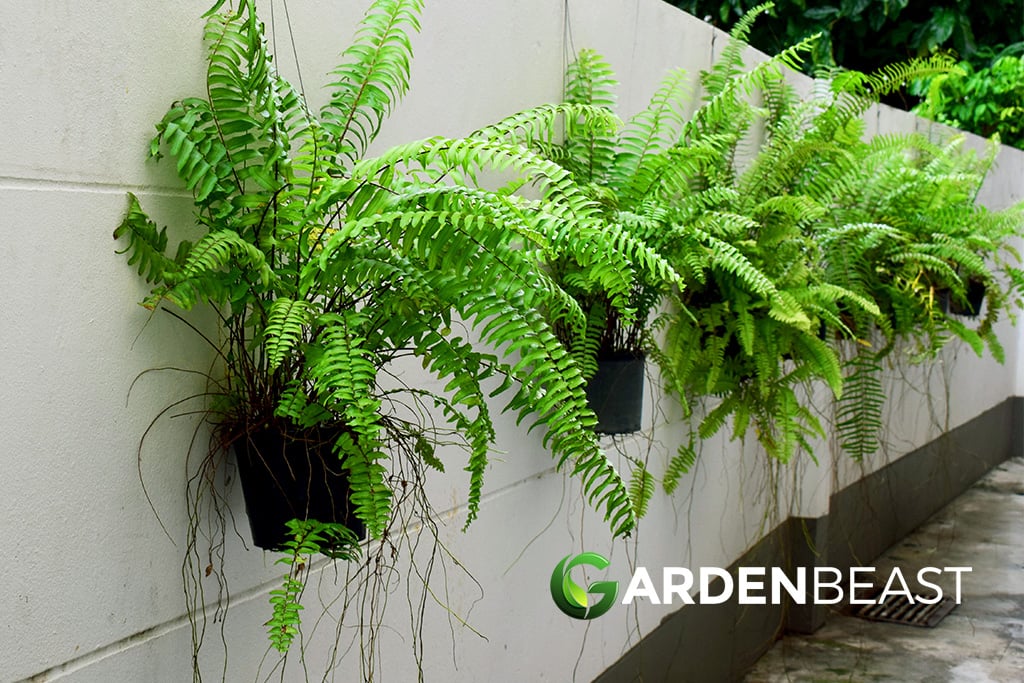
Are you looking for a way to change things up around your yard? Introducing a splash of green with some elegant ferns is a great way to add to the visual dynamic of your flowerbeds and walkways around the home.
Ferns are one of the oldest living plant species, extending back some 300-million years. Ferns were around when dinosaurs roamed the earth, and there are over 15,000 know varieties. Apparently, there are still varieties awaiting discovery in unexplored subtropical regions around the globe.
There’s a fern variety to suit any growing climate, and they’re a great choice for growing both inside and outside the home. Ferns help you fill up empty space with some vibrant green foliage, whether it’s inside in the lounge, out on the patio, or in the flowerbeds.
There are warm-climate and cold-climate varieties available, with different sizes from dwarfs to the largest ferns with huge fronds. Ferns do well in the sun or the shade, and they’re easy to plant, with minimal care required for optimal growth.
Ferns are also easy to propagate. There’s no need to go crazy and buy ferns for the garden each year when you can divide and replant them yourself. This guide unpacks everything you need to know about propagating ferns from spores or mother plants.
How Do Ferns Propagate?
Propagation refers to the process of creating more ferns from a single fern plant. This effect occurs naturally in the wild environment, with ferns spreading and reproducing through spores. Gardeners can emulate the natural spreading of spores at home with simple tools.
The Different Types of Fern Propagation – Asexual and Sexual
Ferns propagate through two different methods, asexual and sexual reproduction. Sexual reproduction occurs in ferns through interaction with spores produced by the plant. However, some beginner gardeners might find it challenging to reproduce the right growing conditions for their plants to produce spores.
For higher success with growing new ferns, it’s a good idea for gardeners to grow lots of spores to make up for the death rate in the new plants. The ferns that grow from spores bear the genetics of both parents, creating a slight variation in the genetics of the plant.
This effect is fantastic to watch in Japanese painted ferns, as the color crossing in new plants bears the genetics of both parents, producing some interesting colors and patterns in the new plants.
The asexual or “vegetative propagation” method is somewhat simpler and better for beginners. With this method, the gardener merely divides the plant in half, creating a second fern from the mother plant.
Unlike the sexual propagation method, each new fern produced through division is a genetic copy of the mother plant.

How to Use Spores to Propagate Ferns
Ferns growing in a natural environment produce millions of spores each year. However, out of the millions produced, only one or two of the spores will land in the perfect growing conditions to start a new plant.
Fortunately, gardeners can emulate these exact growing conditions in an indoor environment. As a result, it’s easy to produce several new ferns from just a few spores. Gardeners dramatically increase the success rate of growing new plants compare the other natural method.
While growing from spores is more challenging than simply dividing plants, it’s easy enough to master if you have the right tools and methodology.
What materials do you need to propagate ferns from spores?
- A fern frond with spore-producing “sporangia” found on the backside of the frond.
- A heavy book and some white paper.
- A glass container.
- A large mixing bowl for water.
- Clean paper towels and chlorine bleach.
- Compressed peat pellets.
- A kettle and distilled water for boiling.
- Vermiculite and high-quality potting soil mix.
- Plastic wrap.
- Rubber bands and pins.
Step 1 – Collect Your Fern Spores
The right time to collect the spores varies between different fern varieties.
The exact time to do this will be different with every fern. Look for the darker fronds on the plant, and you’ll find the spores on the underside, forming big black clumps. When you find fronds that look ripe for cutting, remove them from the plant and place them on the white paper.
Cover the frond with another piece of paper, and put the book on top to add weight, and press the frond down into the sheet. Leave the frond in between the paper for a few days to dry out. When removing the book and opening the paper sheets, you should find that the frond dried and shrunk, leaving the spores behind on the paper.
The golden or brown spores stand out on the white background, making them easy to identify and collect. If you don’t notice any spores, then you might be trimming your ferns too early in the season.

Step 2 – Sterilize Your Glass Container
After collecting your spores, you start the sowing process by sterilizing the glass container. Dip the container or jar into a diluted bleach solution with a 10% chlorine bleach concentration and the rest distilled water. After washing out the container, place it on a paper towel leave it to dry in a sunny area.
Step 3 – Preparing the Peat Pellets for Planting
Start with peeling the netting back from the center of the top of the peat pellet. Place the peat pellet in the bottom of the glass jar, and pour in some boiling distilled water. The boiling water causes the pellet to expand and fill the base of the jar.
After expansion, drain the water from the jar and immediately cover the opening with a layer of plastic wrap. Let the jar cool naturally.
Step 4 – Sowing the Fern Spores
After the peat pellet finishes expanding, remove the last bit of water from the jar. Peel back the corner of the plastic wrap and drain it away before recovering. Transfer your collected spores to a new sheet of paper, with a sharp fold down the center.
The spores should be easy to identify against the white background. Peel back the plastic wrap and gently tap the spores into the container. Reseal the mouth of the jar.
Step 5 – Covering Your Container
After pulling the plastic wrap over the mouth of the jar, seal it tightly with the use of a rubber band around the rim. Place it in an area of your home that gets indirect sunlight.
Step 6 – Keep Your Spores Moist
This jar and plastic wrap setup create a mini-greenhouse effect inside the jar, similar to the natural growing environment for most fern varieties. You should see a thin layer of condensation form on the interior of the glass, and that’s okay.
If the jar starts to look dry, add more cooled boiled distilled water to the jar, but just enough to keep things moist.
Step 7 – Transplanting Young Ferns
The gestation period for the spores is around a month. After four to six weeks, you should notice tiny fronds beginning to emerge from the substrate. These are the start of your new ferns, also known as “sporophytes.” As the baby ferns get big enough for handling, transplant them out into individual containers, and cover the tops of the containers with plastic wrap.
After two weeks, pin a few holes in the top of the plastic wrap. Add more holes every three to five days to get air towards the new fern. The new ferns will be hardy after about four to six weeks, at which time you can remove the plastic.
The gardener will have to continually repot the fern into a larger container as it grows. After around six to 12-months, the fern will be big enough to sustain planting out into the garden.
Using the Division Method to Propagate Ferns
Growing from spores is challenging, but it’s the best way to get unique varieties of ferns into your garden. However, if the thought of growing from spores seems intimidating, there is always the division method for creating new plants.
Physical division of your ferns is the simplest method for getting new ferns into the garden. Dig up the mature fern plant, and divide it into thirds. Separate each clump of fronds in two of the three divisions. Replant the third division to allow the fern to recover.
With the new divisions, you’re aiming for a separate clump, growing on erect rhizomes. You can separate each of these fronds out into individual plants. Some creeping fern varieties are easy to separate using your hands, while others might require you to cut them away using a sharp knife.
After cutting away the rhizome, the gardener can easily pull the new plants away and untangle the roots. After separating the new ferns, plant each of them into a separate container using a high-quality potting mix.
As the fern grows, you can repot into larger containers to keep the plant growing optimally. Remember to water your new divisions well, especially during the first six to eight months after propagation. After this time, the ferns should have established root systems for planting out in the garden.